
Do you remember building pillow forts when you were a kid? One second you were watching cartoons on Sunday morning, and the next, racing around the house gathering supplies to make the ultimate hideout.
Building the best pillow fort as a kid pushes you to be creative. After all, who wouldn’t want to create a mansion out of pillows and blankets? (Besides Mum, of course.)
To ace this timeless craft, we watched full video tutorials ranging from 1m views to 4m views. And we’ve rounded up the best tips on how to make the ultimate DIYpillow fort, no matter how old you are.
First, you have to consider these three things:
1. Location
Inside or outside, that is the question!
If setting up a pillow fort inside the house, ensure you have enough space and pieces of furniture to build around. The living room is usually the best spot because of easy access to couches, tables and chairs. And the more materials you have to work with, the bigger the fort can be.
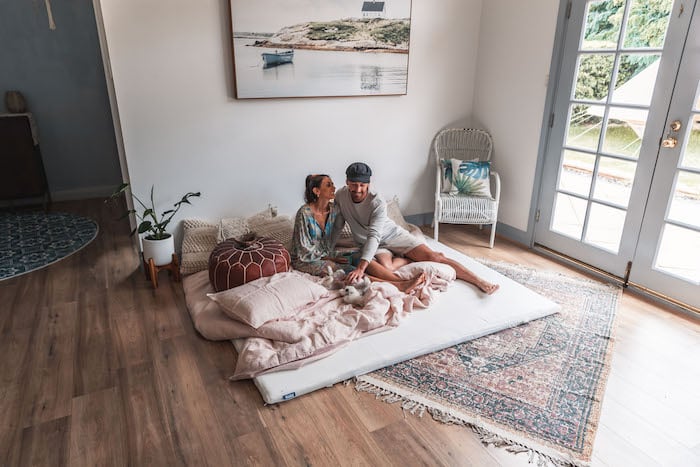
When you build a pillow fort in the living room, you also have enough space to use the kids’ single or double memory foam mattress. Ecosa’s beds are easy to handle as they range from 20 to 30 kg. Just try not to block any doors during the pillow fort construction for fire safety and ease of use!
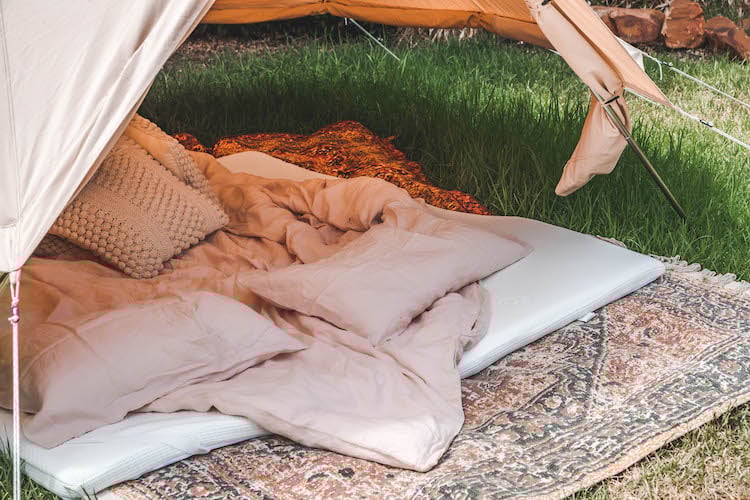
On the other hand, setting up a pillow fort with heavy blankets in the backyard allows you to create a super trendy glamping setup. Oh yeah, we’re talking glamorous camping. But before you set up outside, check the weather and make sure it’s on your side. The last thing you need is for the wind or rain to knock down your masterpiece.
2. Supplies
Once you choose a location, gather your supplies accordingly. Here’s a simple checklist before you get started:
- Bed Sheets– Bonus points if you can find extra-large, lightweight, breathable sheets for the fort’s roof.
- Pillows – Gather as many pillows as possible — it is a pillow fort, after all! Throw pillows add style and design, while memory foam pillows increase the comfort and stability factor. Who doesn’t love a pillow-lined wall?
- Mattress, mattress topper, or sleeping bags – You need something for the base!
- Seat cushions – Use these as building blocks for the fort’s walls.
- Chairs – These will essentially act as the skeleton of the fort.
- Blankets – Find a few thin blankets to place on top of the mattress or topper on the ground. Again, more for the comfort and snuggle factor.
- Clothespins or binder clips – Create a door flap and build a less flimsy fort.
- Tape – You always need tape.
- Wooden dowels or broomsticks – To increase the height and sturdiness of the fort.
- Heavy books – To keep the sheets in place.
- String lights – For decoration, of course!
3. Function
It’s essential to consider the function of your fort before you get started so that you can make it as grand or as small as you like!
- Is it for entertainment? Make sure it’s big enough to host people! Bonus points if it’s set up in front of the television or close to the pantry (shnacks!). Then you can have the ultimate movie night with friends. Hmmm, can you Uber Eats to the fort? Asking for a friend.
- Is it for glamping? We’re always looking for an excuse to glamp! Set up the perfect spot in the backyard and invite your friends for a cosy gathering.
- For the kids? Building the best blanket fort is most likely a project for the kids (although we think there’s no age limit). Make sure to set it up away from any breakable or sharp items. That way you don’t have to worry about the inevitable collapse of the fort (and outbreak of a pillow fight) when you’re in another room.
How to Build a Pillow Fort
Okay, okay, we’re getting to the good stuff! We all have different ideas about fort building, but we’ll help you create something fun for everyone! Once you’ve chosen a location, gathered supplies, and considered its function, it’s time to build.
- For an indoor fort, set up a mattress on the floor. Make sure there’s something at the head of the bed, such as a couch or a wall.
- Add blankets to the mattress, for comfort, of course.
- Set up three chairs on either long side of the mattress. Make sure the backs of the chairs are facing each other.
- Line the fort’s three constructed walls (the head and each long side) with couch cushions and pillows.
- Throw a big, super-king sheet over the chairs to create a roof over the mattress. It should reach from the seats of one row of chairs to the seats of the other row of chairs.
- Secure the roof by placing heavy books on either end of the sheets, which should be lying on the seats of the chairs.
- Use clothespins or binder clips to create an entrance or a drape out of the sheets.
- Option to prop wooden dowels in the centre of the fort to create more of a tent-like structure. Tape two together, depending on how high you want the roof.
- Decorate the inside of your fort with string lights, glow sticks, and stuffed animals to make it a cozy place.
- Add an Aussie flag, name the pillow fort, and invite friends for a sleepover!
You can do the same setup outdoors for a glamping experience! Rather than use the mattress, opt for a thick topper instead. Create a double entrance by setting it up on a dry, flat surface in the middle of the yard. Don’t worry about getting it dirty — Ecosa’s memory foam topper comes with a removable cover that you can throw in the wash.
Building a fort is a great DIY project for the whole family. Ecosa’s products can help you create an epic pillow fort, no matter how old you are!